

I was kindly donated a Nakamichi “System One” rack of audio equipment recently. Overall the equipment was in good shape, but had been in a building fire and suffered from significant smoke damage. There was not any detectable heat damage and only minor water damage.
After successfully repairing the 610 FM Tuner / Preamp I decide to tackle the model 620 audio power amplifier next.

The Nakamichi model 620 is capable of driving 100 watts per channel into 8Ω (stereo). The 620 is a class B amplifier with some very impressive performance specifications.
Signal-to-noise Ratio better than 120 dB (IHF‑A)
Frequency response from 5Hz to 100kHz +0 ‑1 dB
Total harmonic distortion 0.005% at 1 KHz between 1 to 100 watts 8Ω
Crosstalk better than ‑70 dB @ 1 KHz
Intermodulation distortion less than 0.002% (60 Hz: 7 KHz, 4:1, 8Ω load, 100 Watt)
Power consumption 50 VA at Idle, 700 VA both channels clipping into 8Ω
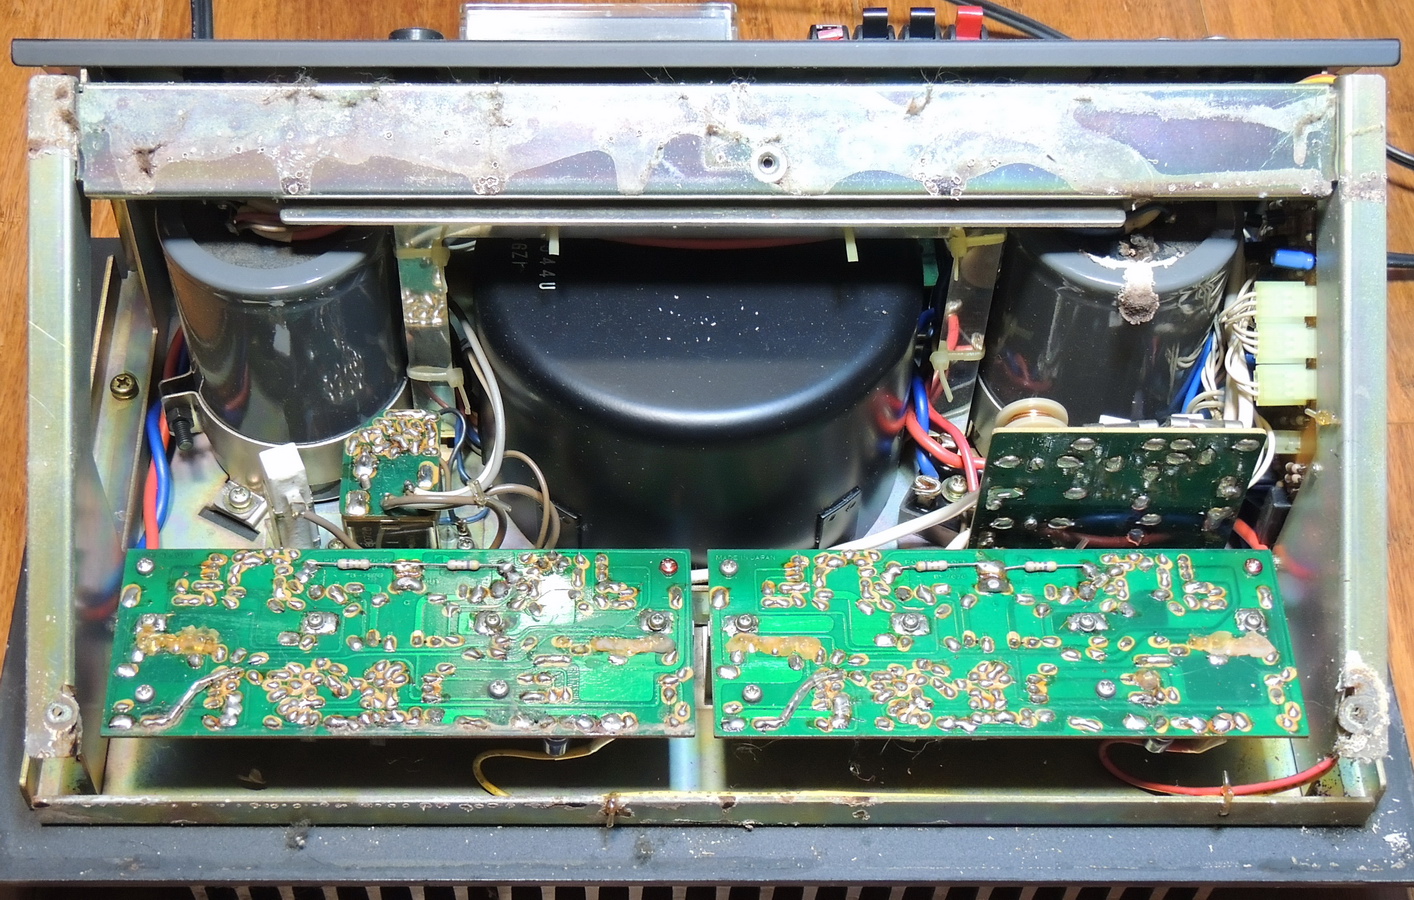
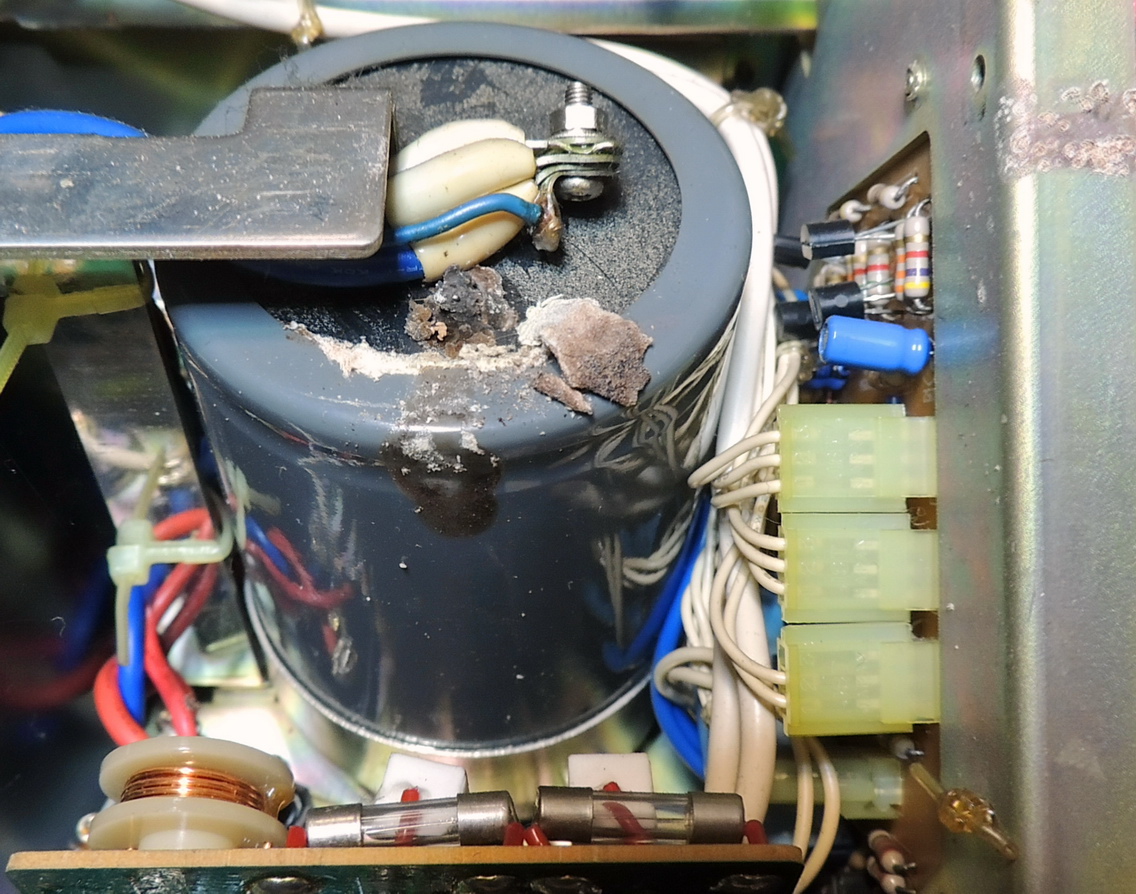
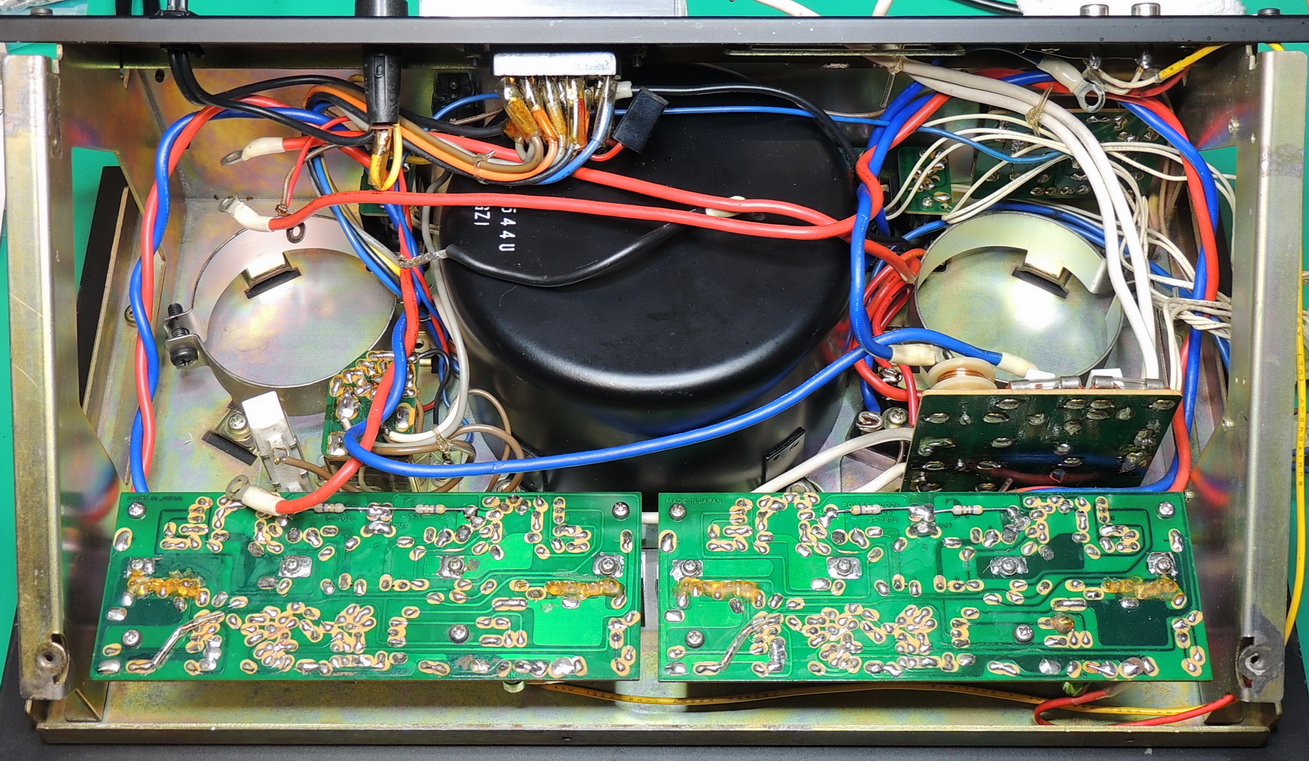
After pulling the plastic rear cover off the amplifier I was able to see some of the issues that needed to be addressed. Probably the most obvious was the leaking main filter capacitors. The good news is that none of the caustic electrolyte from the capacitors leaked onto anything other than the plastic case.
The next item to add to the list was some water damage on one of the amplifier module circuit boards, along with some light damage to the metal frame.
The final item other than cleaning was the damaged speaker output jacks with broken plastic tabs.
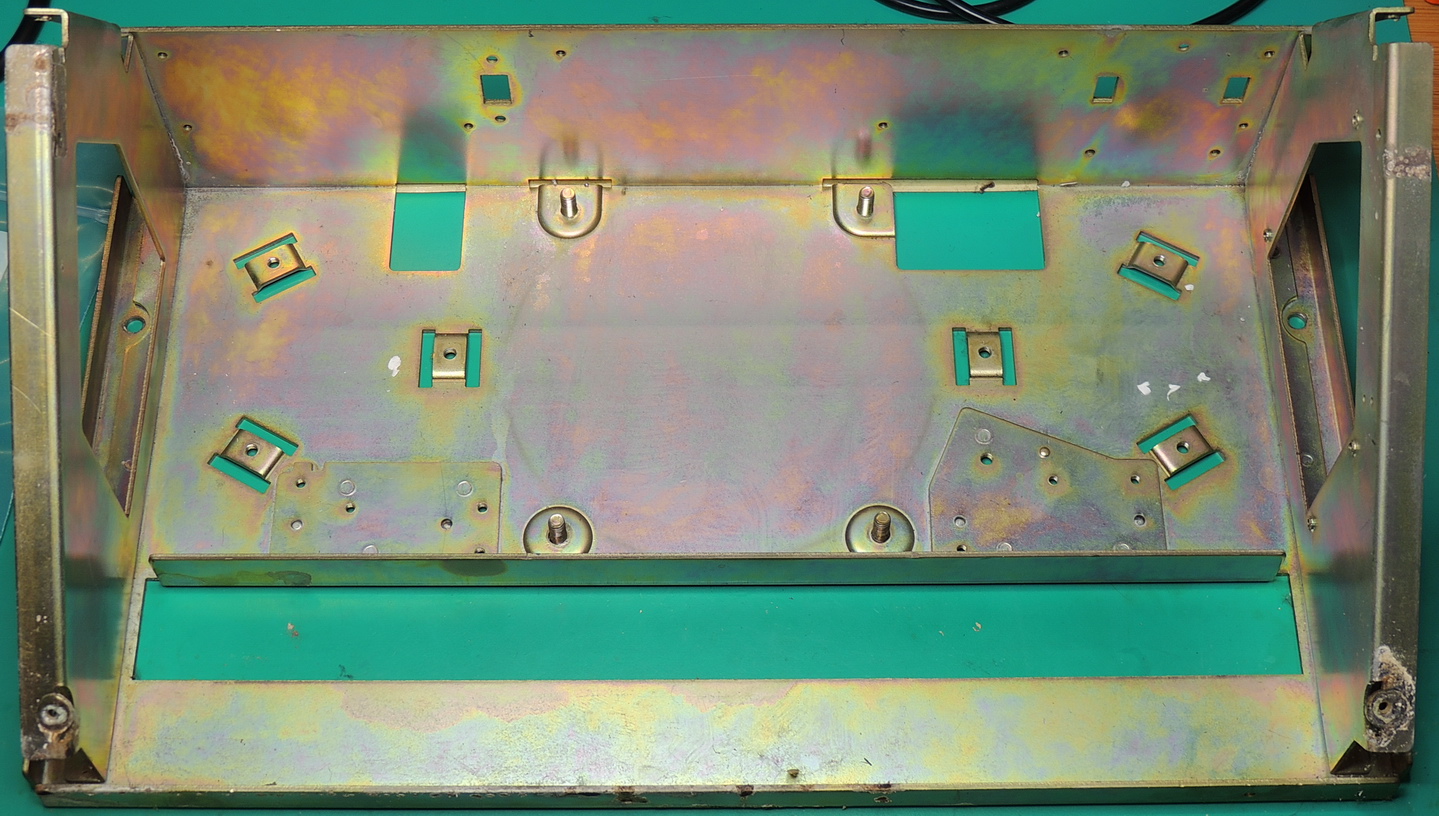
While waiting for the new capacitors to arrive, it was time to do a thorough cleaning of everything which required complete disassembly of the unit. I used my favorite citric based cleaner which worked very well on all the sticky smoke residue. I was amazed at how much black soot had entered the semi-sealed case. I soaked the water damaged areas of the frame in Evapo-Rust which did a good job of removing most of the corrosion.
The hardest part to clean was the front heatsink fins, because of their close spacing and depth which required multiple passes before I was happy with the results.
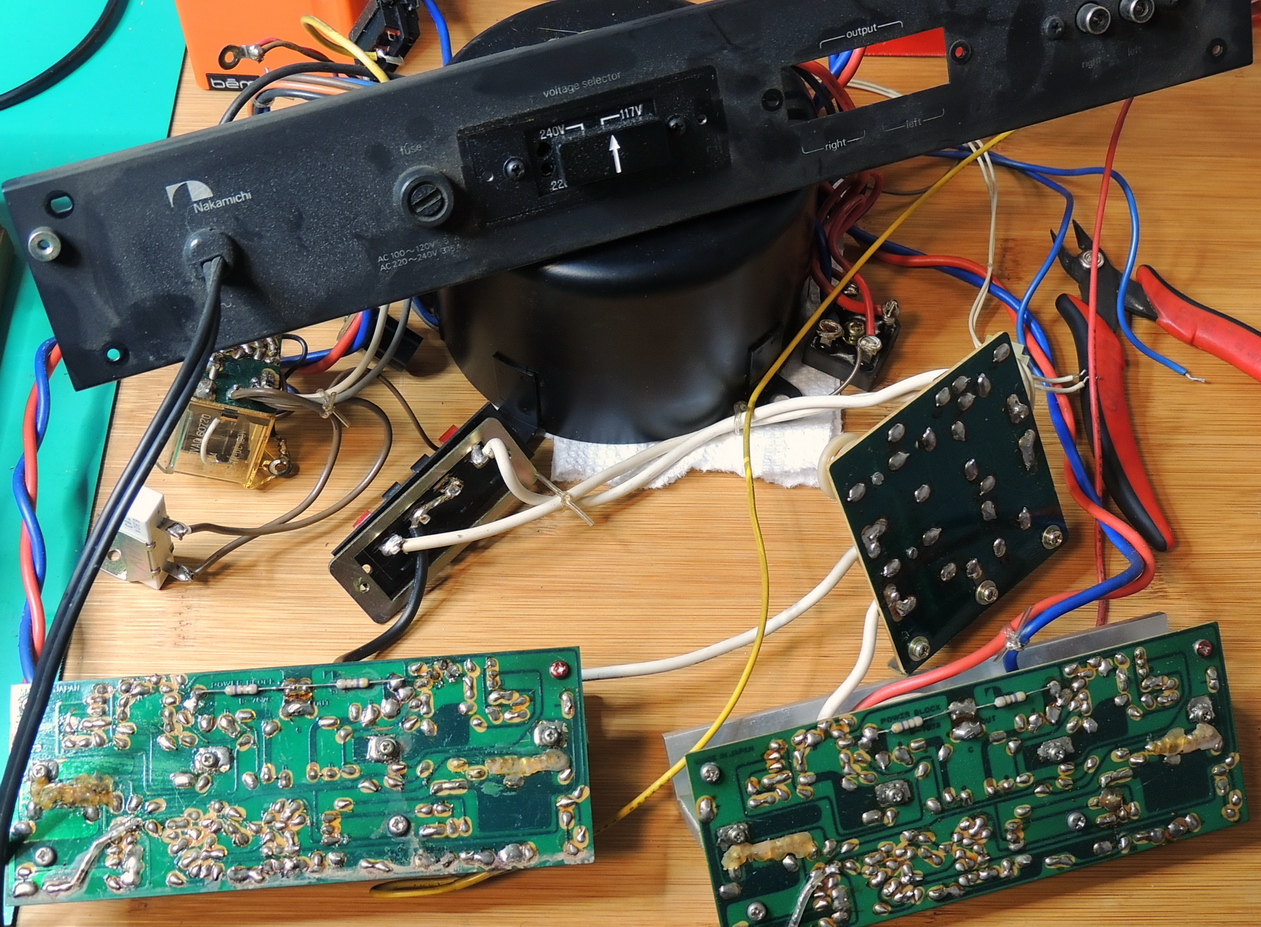
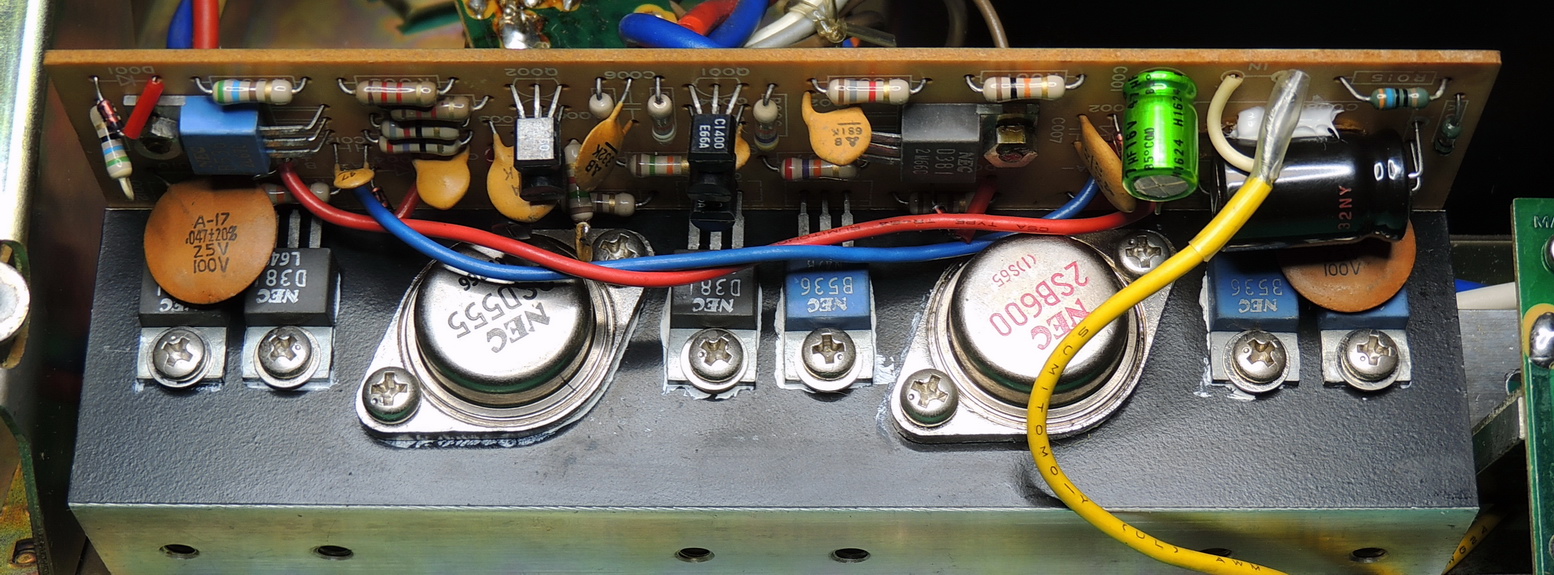
One of the circuit boards had a lot of crud build-up where it had sat in a collection point for dirty water. A lot of the dirt was attached to the original residual flux from manufacturing. I used Isopropyl alcohol for removing the original flux and new dirt. Once the boards were cleaned I also replaced the 47 uF bi-polar input capacitor along with the 1000 uF electrolytic capacitor on each amp board.
The old heat sink compound was removed from the aluminum mounting block and new thermal compound was applied before reattaching to the front heatsink plate.
An in-circuit check of the amplifier modules showed that all transistors were in good shape, with no shorted outputs or power supply rails.
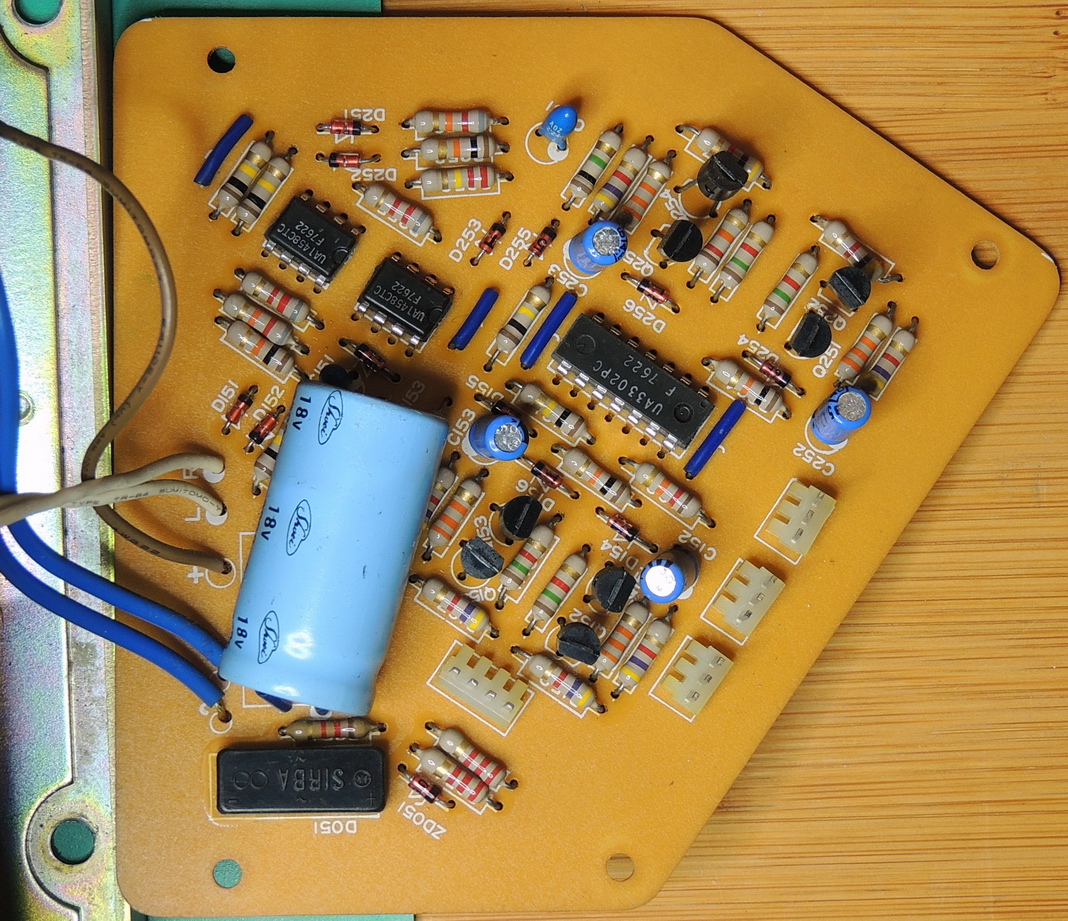
The lamp indicator board also received a good cleaning with IPA and was fitted with a new 2200 uF @ 25V electrolytic capacitor which was much smaller than the original light blue capacitor.
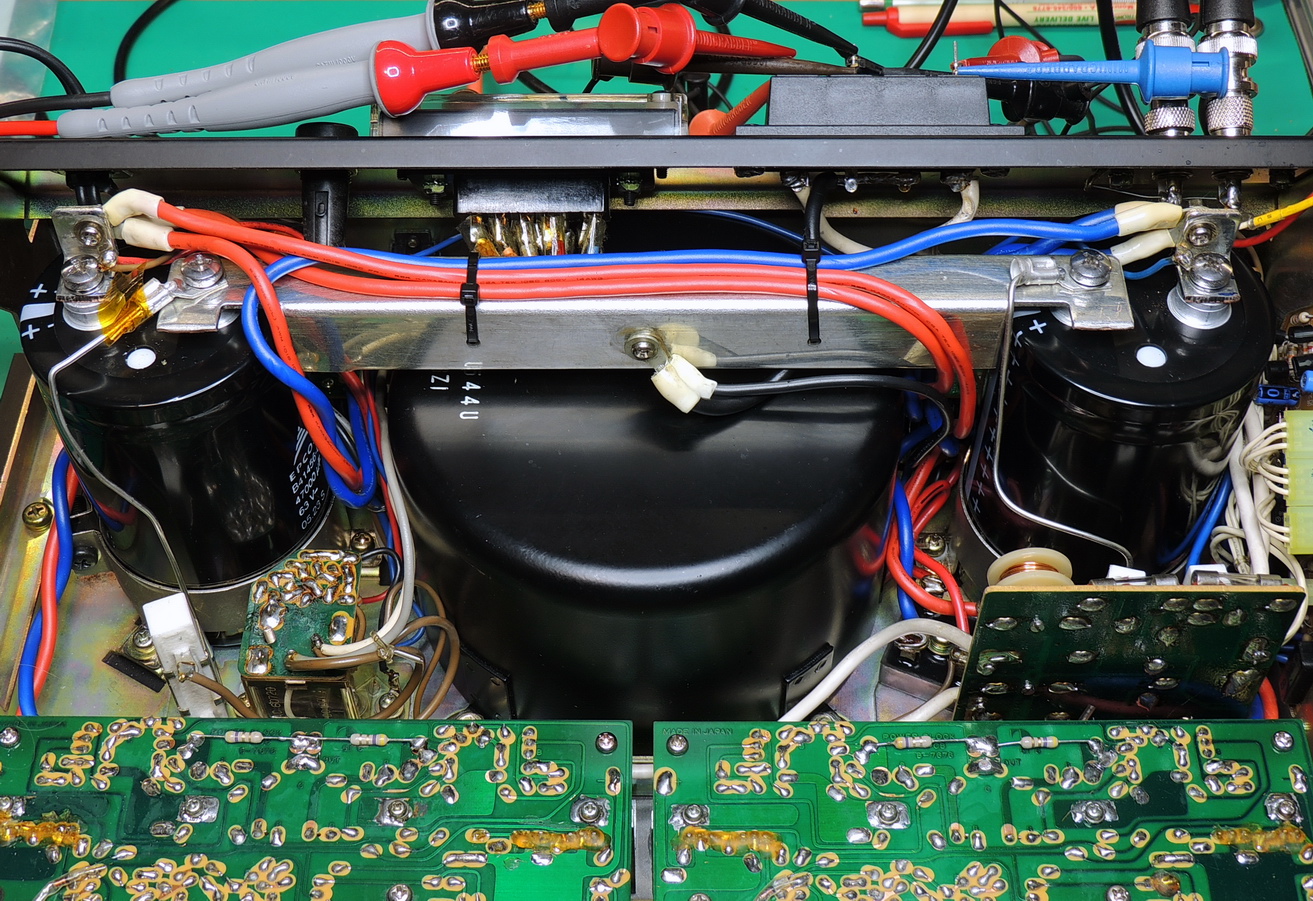
I was unable to find any exact replacement 36,000 uF capacitors and ended up purchasing some TDK 47,000 µF @ 63 VDC B41456 series screw terminal capacitors. The new capacitors required some modifications to the existing buss bar connecting the capacitors.
I picked up a new high current spring terminal speaker block and replaced the damaged block on the back panel. I am not a fan of spring terminals, but the new one was of much better quality than the original, with plated copper contacts on both sides of each terminal.
Once the unit was reassembled I was able to run it through several tests which all met or exceeded the original specifications, or were at the limits of my test equipment.
This unit was one of the earlier sold units which did not include the speaker protection relay board which was added later to all units. I will be keeping my eye out for a parts unit with a good board, or I might build my own based on the Nakamichi design.
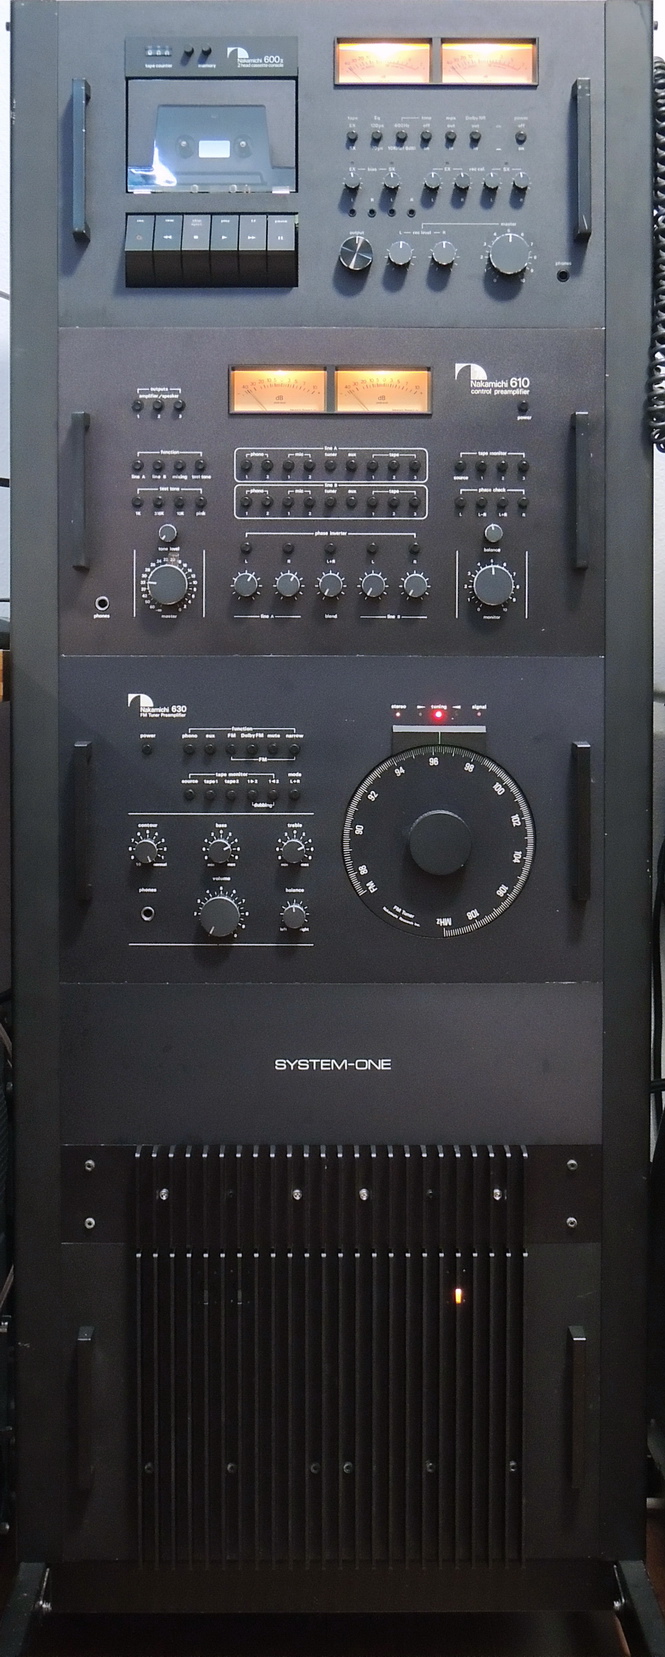
I am super excited to see the System One be brought back to life. I did not see how much needed to be done to the 630 pre-amp Tuner. I do see it in the picture of the system with lights on! Great job bring them back from the fire.
Thank you for the great write up. I’m in the process of restoring my 620 amp. Do you have a list of replacement parts that you can share?
Hi Rubin,
The only capacitors that I ordered were the EPCOS-TDK Electronics #B41456B8479M000 units at 47,000 uF @ 63 VDC.
All the other capacitors were sourced from my spares stock and have varying part numbers even in the same sizes, but typically using Nichicon, and Vishay brands.
The only special capacitors are the 47 uF bi-polar input capacitors on the amplifier modules which I used Nichicon UES series bi-polar units.
Good luck on your restoration.
Greg(Barbouri)