

Minor upgrades, maintenance, and cleanup of a Hewlett Packard HP 3457A digital multimeter.
I purchased this HP 3457A multimeter as an untested unit that powers-up. Luckily when it arrived it turned on and had no errors after performing all the self-tests.
It was not in the best condition and very dirty with lots of adhesive residue. It was also missing it’s power button.
I was able to 3D print a replacement power button, and then spent several hours disassembling and cleaning the unit.

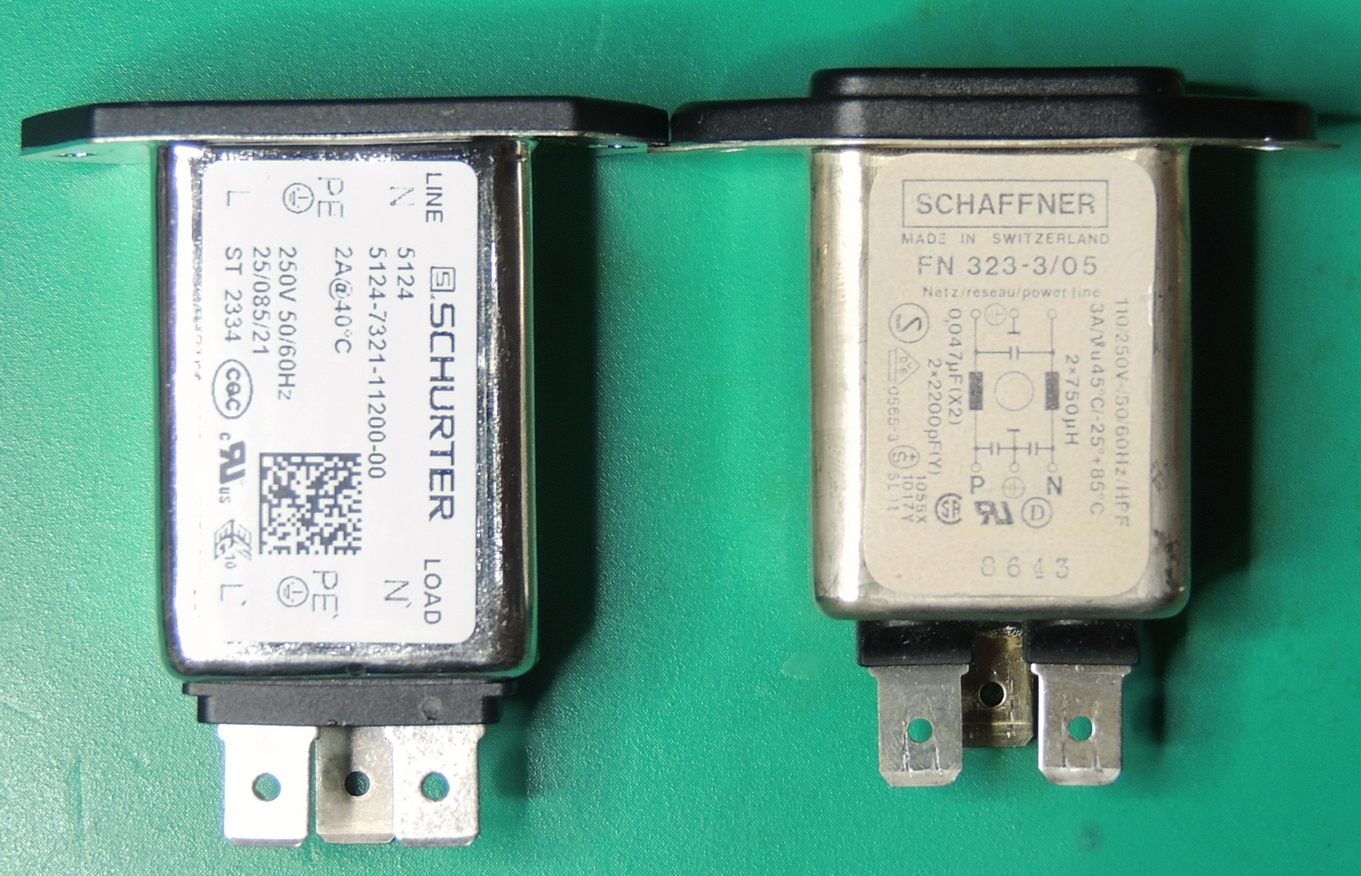
Part of the preventative maintenance that I wanted to perform was replacing the IEC C14 AC power input module. I was able to find a Schurter 3–130-953 single stage IEC filter that was just a bit longer in length to replace the original unit.
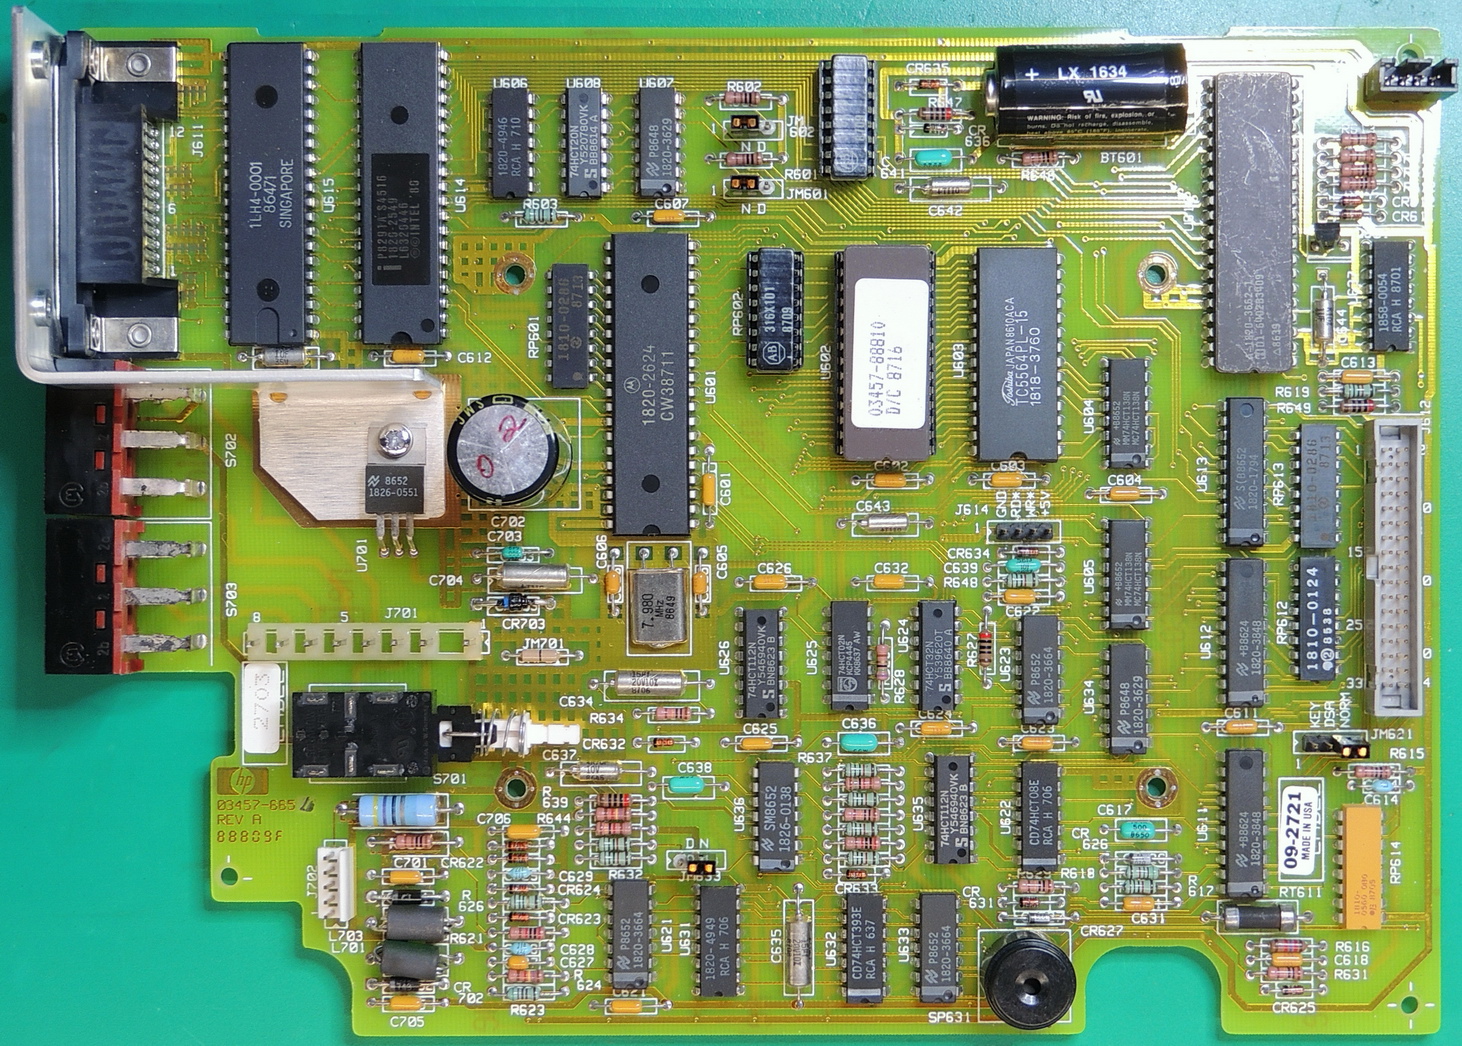
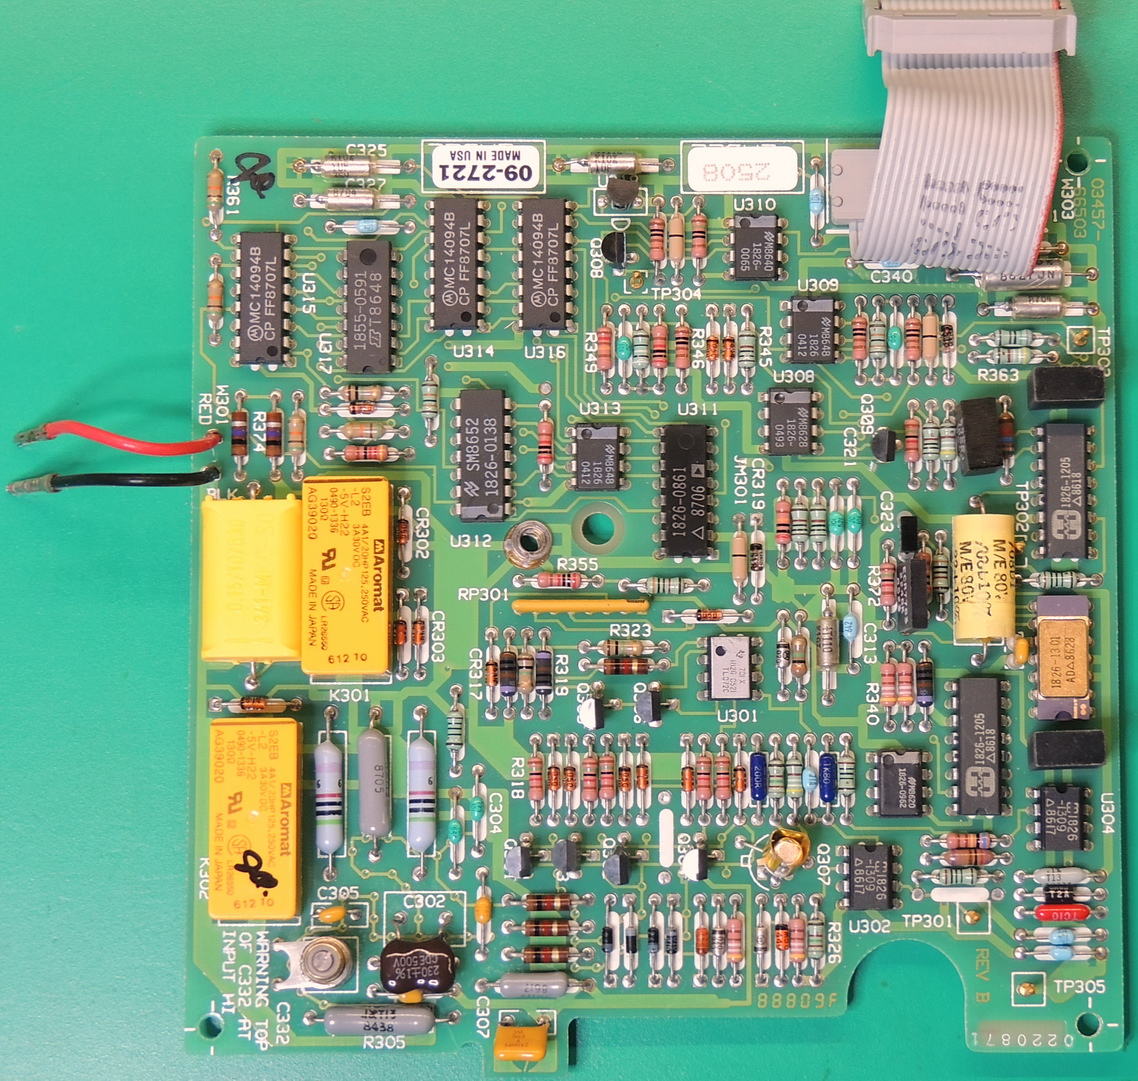
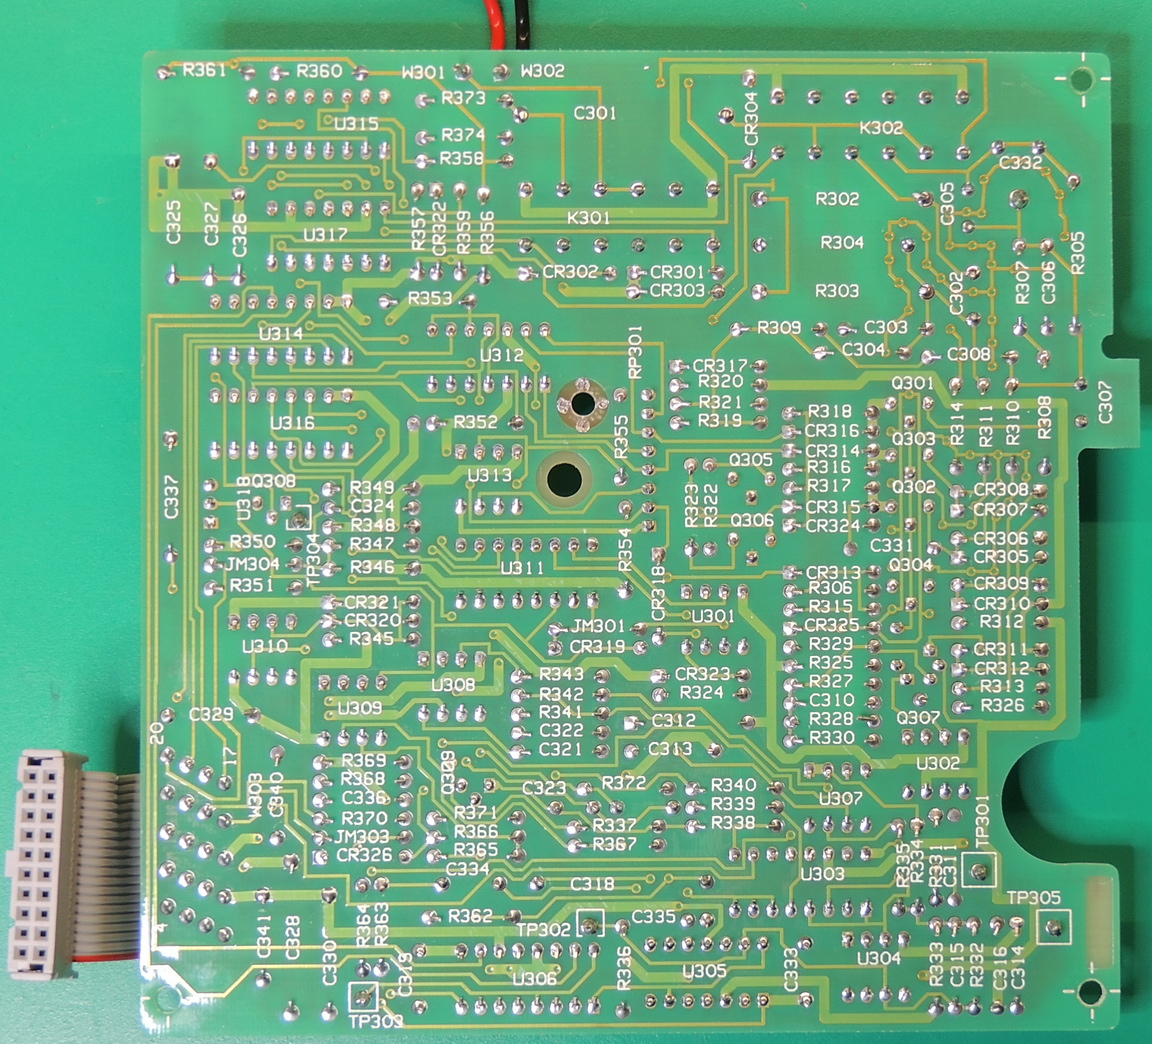
For the most part the boards were in very good condition with the exception of the main analog board.
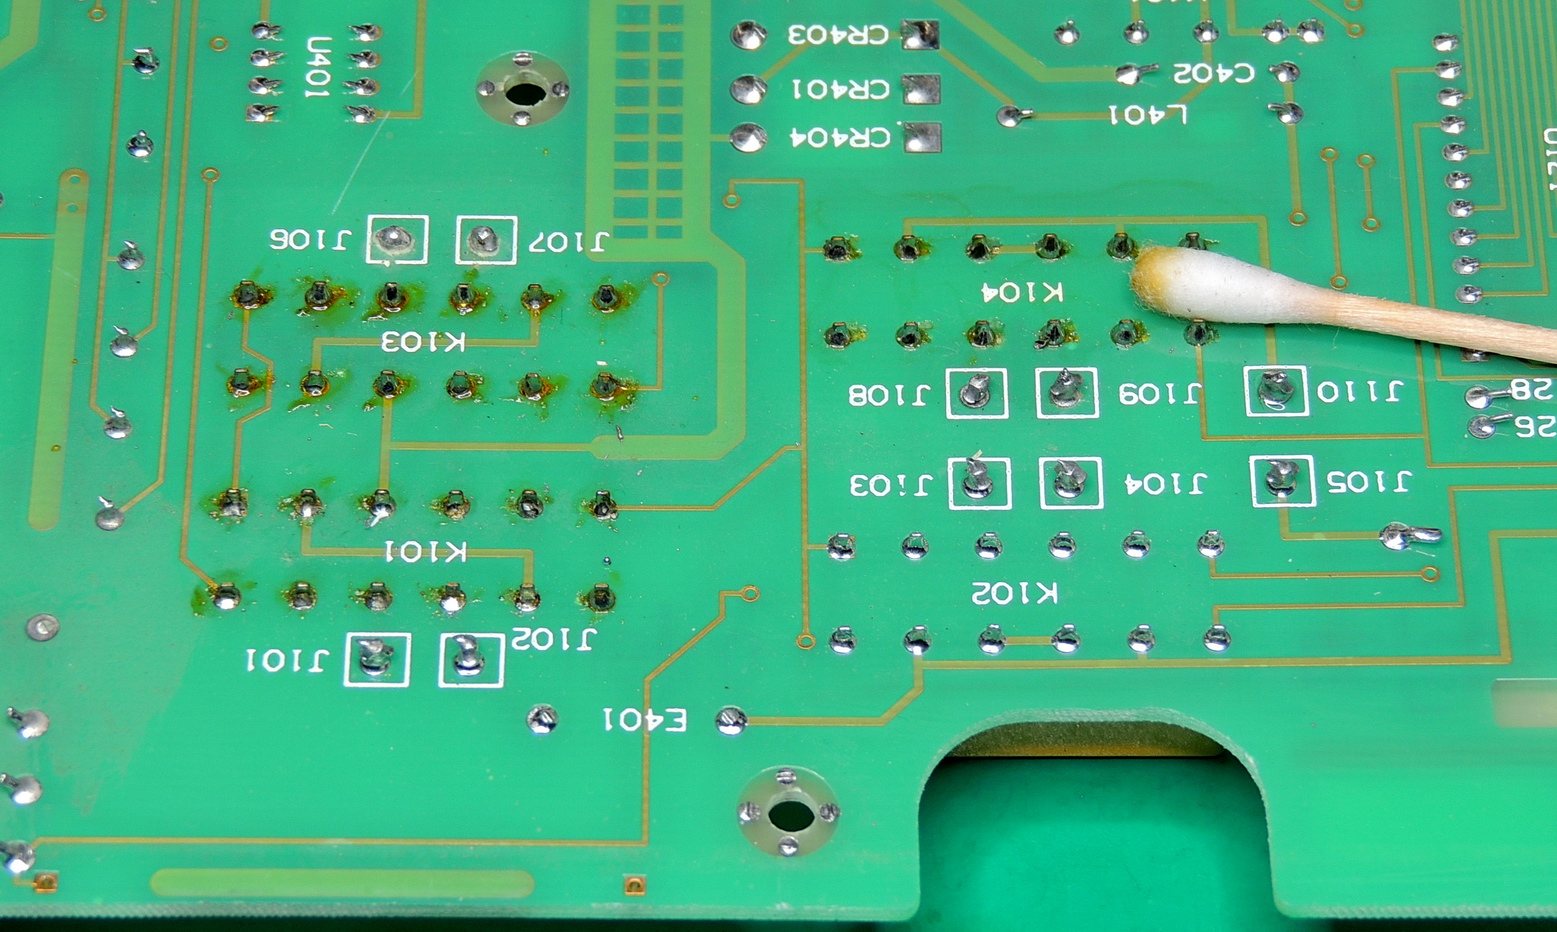
Someone had worked on the analog boards relays in the past and didn’t bother to cleanup after their repair or whatever they were doing. The relays affected were the front / rear input switching circuits. I spent another couple of hours re-soldering the connections and cleaning off all the flux around all the relays then cleaning all the high impedance signal areas of the board, because there was no telling how the board had been handled in the past.
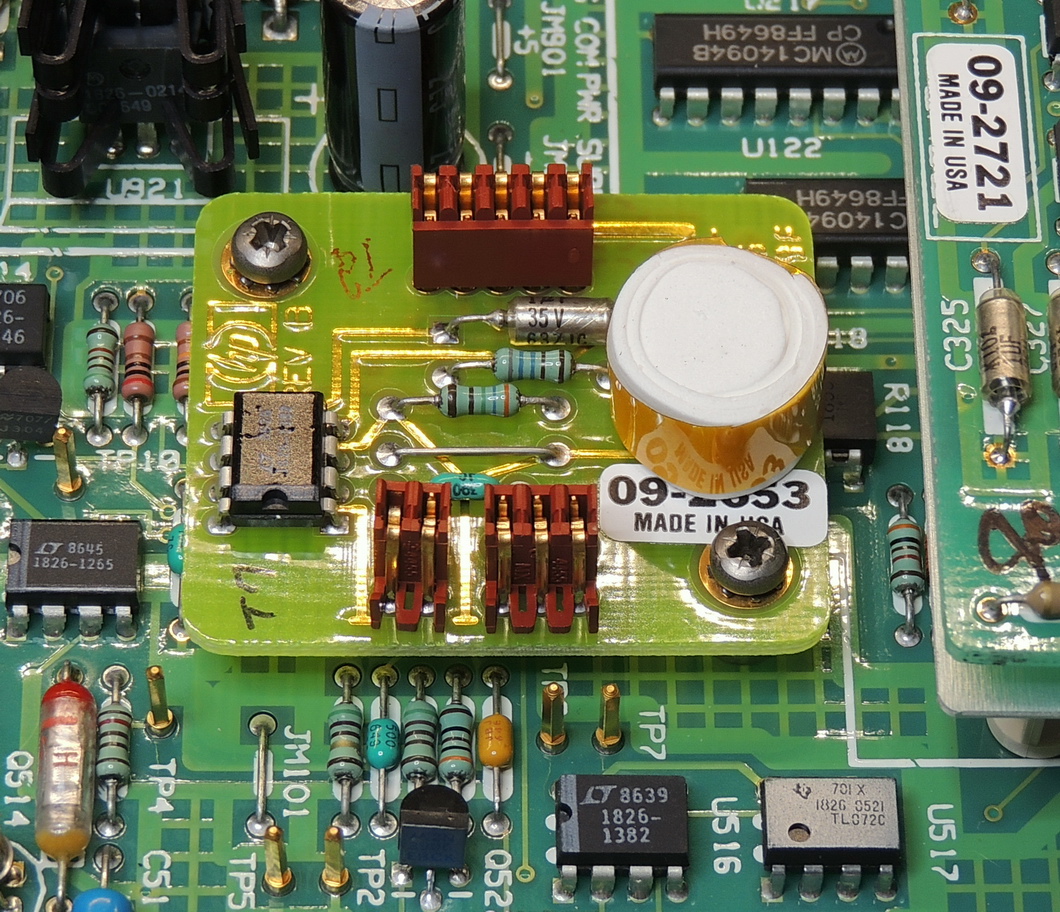
The next item was a small upgrade to the reference module which involved adding additional insulation to the LM339 Zener reference. I used my favorite Rova flex plus Aerogel insulation tape to add several additional layers of insulation to the original housing. This increases the thermal stability of the reference. I also thoroughly cleaned the connections of the reference board then used a small amount of DeoxIT Gold on the pins.
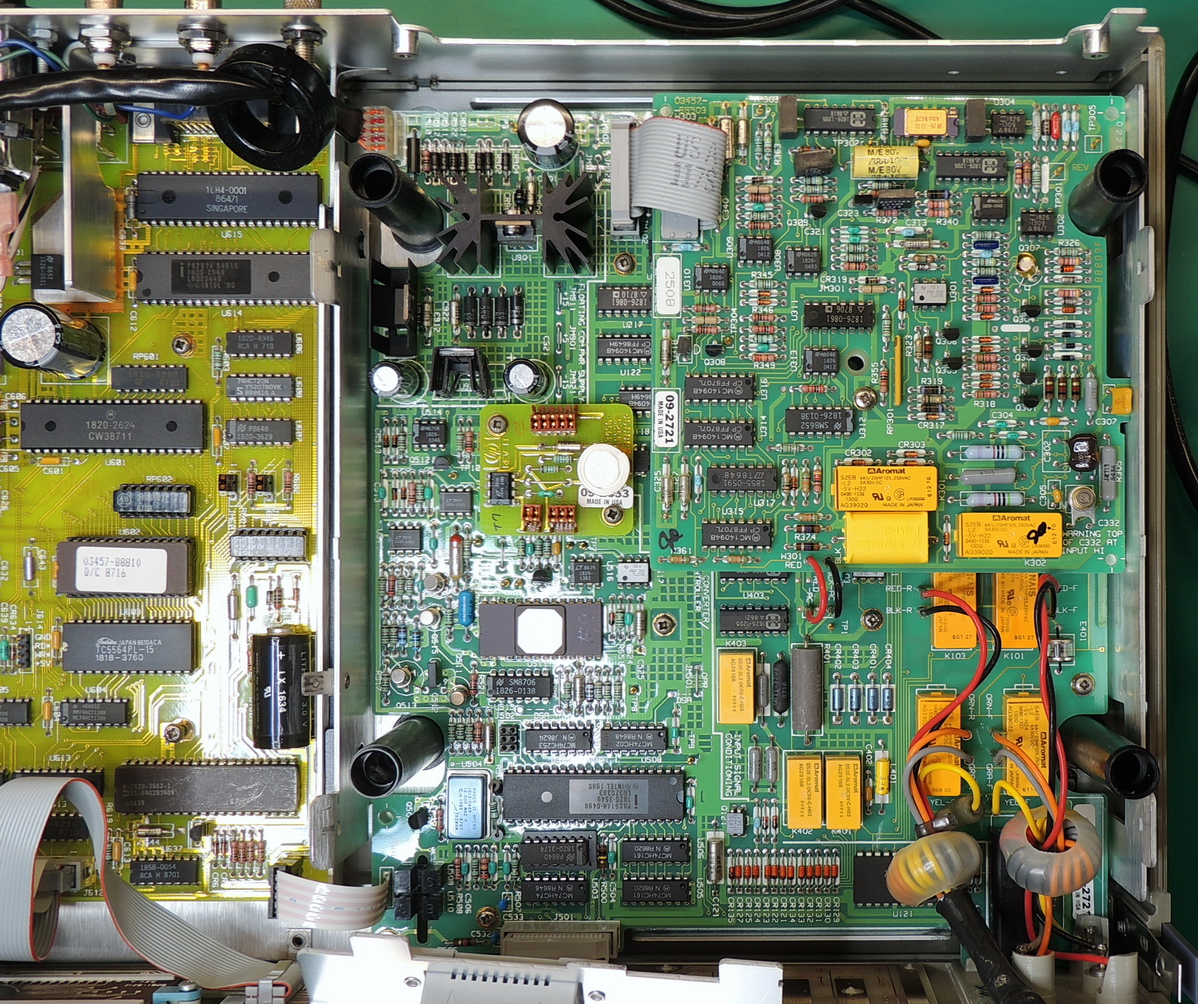
The four electrolytic capacitors on the digital and analog boards power supply section were replaced with 10000 Hrs @ 105°C rated Nichicon and Rubycon units.
Also added was a common mode ferrite choke that was slipped over the cable between the transformer and analog board power supply section.
The memory backup battery was also replaced with a Panasonic BR‑2/3AE5SPN unit.
In the future I may try the Ferroelectric ram replacement, but for now this new battery should last quite a while.
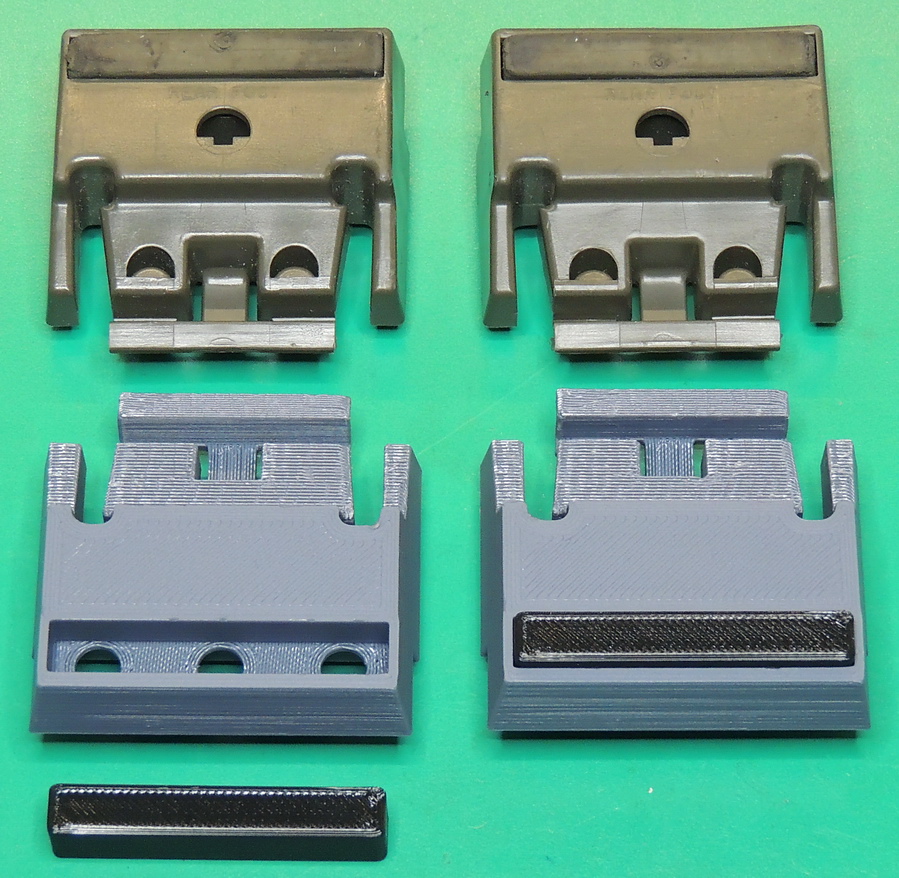
The case was missing two of it’s feet so I 3D printed a new pair and some TPU inserts to replace them. Not quite as nice as the originals but they worked very well.
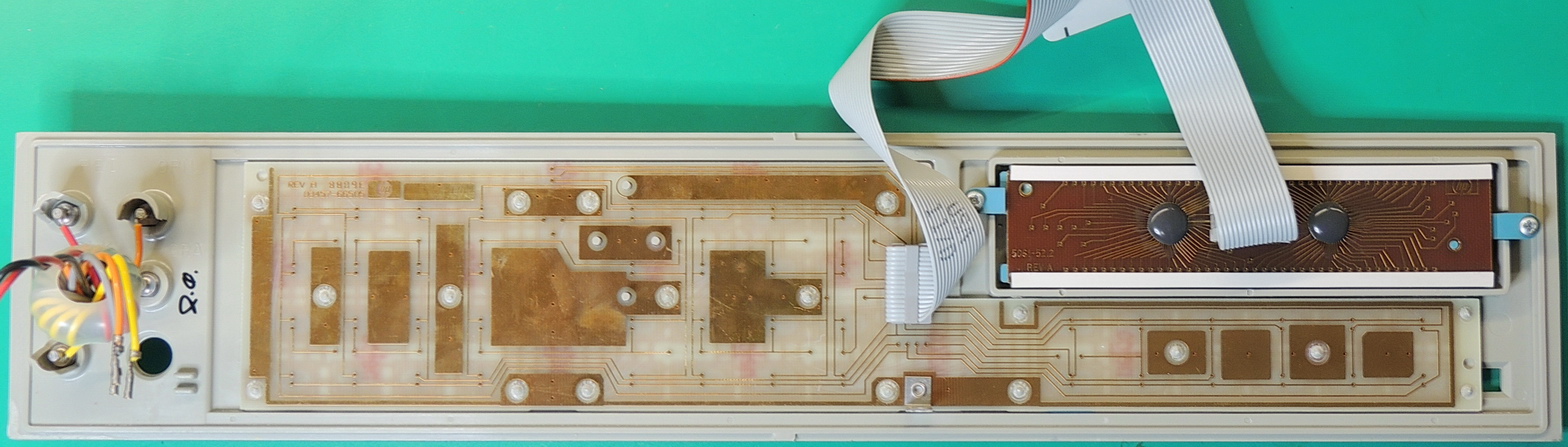
While fully functional, the LCD display is not the easiest to read and is starting to show some degradation on the lower edge of the screen. There are some OLED screen replacements solutions out there, but for now the LCD screen meets my needs.
After reassembling the unit amazingly everything still worked.
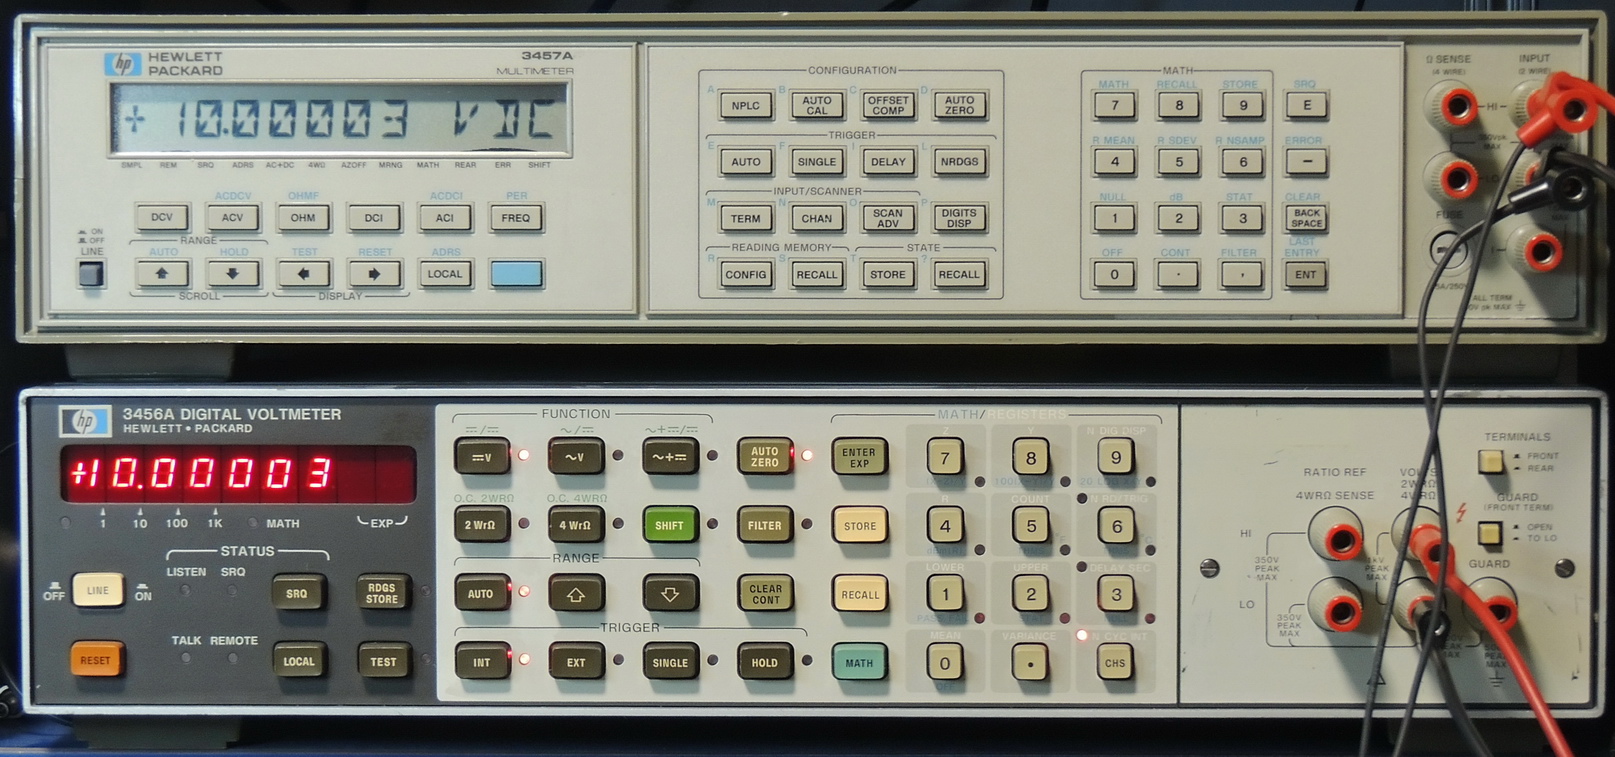
When comparing this model to my HP 3456A, this model adds some additional capabilities such as DC and AC current measurements along with a basic frequency measurement function. It also excels when measuring lower range DC voltages, but falls short when measuring AC voltages compared to the 3456A voltmeter.
So far I am very happy with this addition to the work bench.